Decadent Mini Cheesecake Hearts
Highlighted under: Baking & Desserts
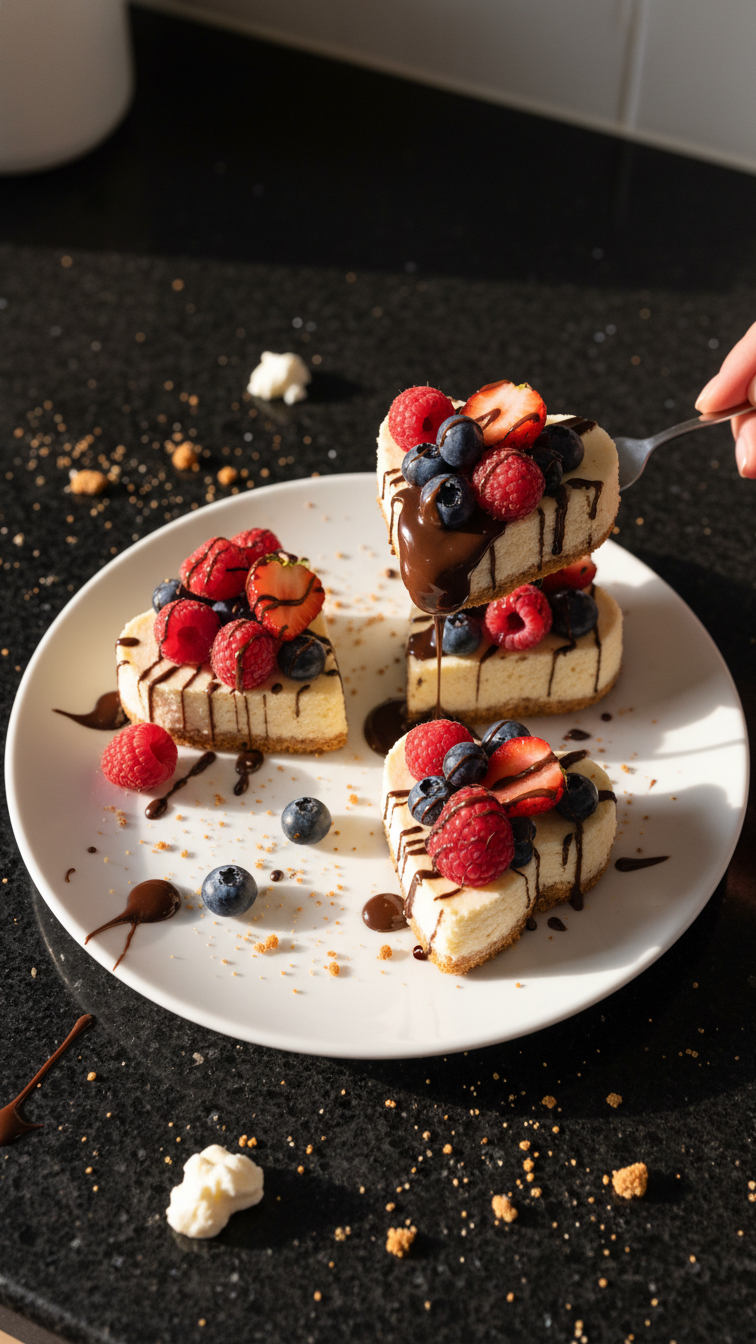
I absolutely adore making Decadent Mini Cheesecake Hearts for special occasions. These delightful little desserts come together effortlessly, combining a creamy cheesecake filling with a buttery graham cracker crust. I love how they look; their heart shape makes them perfect for celebrating love or simply brightening someone's day. Plus, you can customize the flavors with fruit purees or chocolate swirls, making them versatile for any palate. Trust me, these mini cheesecakes will steal the show at your next gathering!
When I first made these mini cheesecakes, I was on a quest for the perfect bite-sized dessert. I can't emphasize enough how satisfying it is to create something so visually appealing and utterly delicious. The secret lies in baking them gently in a water bath, which ensures they stay creamy and don’t crack. I learned that this method really elevates the texture, making each bite melt in your mouth.
During testing, I experimented with different toppings—fruit compotes and chocolate ganache were instant hits! Each variation added a personal touch and left my friends begging for the recipe. If you’re looking to impress, definitely try these; they’re not just stunning but also incredibly tasty!
Why You'll Love These Cheesecake Hearts
- Rich creaminess that envelops your taste buds
- Cute heart shape, perfect for any celebration
- Endless flavor customization options for every palate
Understanding the Ingredients
The ingredients of these mini cheesecakes work together to create a perfectly balanced flavor and texture. Cream cheese is the star of the filling, providing that rich, creamy consistency that’s essential for a cheesecake. It's important to use softened cream cheese—this ensures a smooth mixture without lumps. For the best results, let your cream cheese sit at room temperature for about 30 minutes before you start mixing.
Graham cracker crumbs form the base of the crust, offering a slightly sweet and crunchy texture that contrasts beautifully with the smooth filling. You can substitute the graham cracker crumbs with crushed digestive biscuits or even almond flour for a gluten-free option. Just remember to adjust the sugar according to your sweetness preference, as some substitutes can be sweeter or less sweet than graham crackers.
Baking Tips for Perfect Mini Cheesecake Hearts
When baking mini cheesecakes, timing is critical. Bake them until they are set around the edges but have a slight jiggle in the center—this indicates they are still creamy once cooled. If they are overbaked, they can develop a dry texture. Keep an eye on them during the last few minutes of baking to catch that perfect doneness, and always allow them to cool gradually to prevent crack formation.
Using a water bath is a great technique to prevent the tops from cracking. Place a larger baking dish filled with hot water on the lower rack while baking. This steam keeps the oven moist and helps achieve that silky finish. If you don’t have a baking dish, don’t worry! Just be sure to monitor the baking time closely.
Ingredients
Gather these ingredients to create your delightful mini cheesecakes:
For the Crust
- 1 cup graham cracker crumbs
- 1/4 cup sugar
- 1/2 cup unsalted butter, melted
For the Cheesecake Filling
- 16 oz cream cheese, softened
- 1 cup sugar
- 1 tsp vanilla extract
- 2 large eggs
- 1/4 cup sour cream
Ensure you have fresh ingredients for the best flavor!
Instructions
Follow these steps to bake your mini cheesecakes to perfection:
Preheat the Oven
Preheat your oven to 325°F (160°C) and line a muffin tin with heart-shaped cupcake liners.
Prepare the Crust
In a mixing bowl, combine graham cracker crumbs, sugar, and melted butter until well blended. Press this mixture evenly into the bottom of each cupcake liner.
Mix the Filling
In another bowl, beat the softened cream cheese until smooth. Add sugar and vanilla, mix well, then incorporate the eggs and sour cream until combined.
Fill the Cupcakes
Pour the cheesecake filling over the crusts in each liner, filling them about three-quarters full.
Bake
Bake in the preheated oven for 18-20 minutes. They should be slightly set but still have a jiggle in the center.
Cool and Serve
Let them cool at room temperature before refrigerating for at least 2 hours. Serve cold, topped with your favorite fruits or toppings!
Enjoy your delicious mini cheesecake hearts!
Pro Tips
- For a richer flavor, try adding lemon zest to the filling or swap out vanilla for almond extract.
Serving Suggestions
These mini cheesecakes can be dressed up in endless ways! Consider topping them with a raspberry or strawberry puree for a fruity touch, or drizzle melted chocolate for a rich finish. Fresh fruit, whipped cream, or a sprinkle of crushed nuts can add texture and visual appeal. Remember to add these toppings just before serving to ensure the best flavor and presentation.
For gatherings, consider serving the cheesecakes on a decorative platter, arranging them with complementary fruits or edible flowers for a sophisticated look. You can also create a dessert bar, allowing guests to customize their mini cheesecakes with various toppings, which adds a fun element to your event.
Make-Ahead and Storage
One of the best aspects of these mini cheesecakes is that they can be prepared ahead of time. Once baked and cooled, store them in an airtight container in the fridge for up to 5 days. The flavors often develop even further after a day in the fridge, making them ideal for preparing in advance for a party or special occasion.
If you're looking to keep these mini cheesecakes longer, they also freeze well! Just wrap each cooled cheesecake individually in plastic wrap and then in aluminum foil. They can be frozen for up to 3 months. To enjoy them, simply thaw them in the refrigerator overnight before serving—this allows for a smooth texture to return.
Questions About Recipes
→ Can I freeze these mini cheesecakes?
Yes, you can freeze them! Just ensure they are well wrapped and can be stored for up to 2 months.
→ What can I use instead of graham crackers?
You can use crushed cookies like Oreos or digestive biscuits as an alternative for the crust.
→ Can I make these mini cheesecakes dairy-free?
Yes, substitute cream cheese and sour cream with dairy-free alternatives available in most supermarkets.
→ How long do these mini cheesecakes last in the fridge?
They will last for about 5-7 days in the refrigerator if kept in an airtight container.
Decadent Mini Cheesecake Hearts
Created by: The Novarecipelab Team
Recipe Type: Baking & Desserts
Skill Level: Intermediate
Final Quantity: 12 servings
What You'll Need
For the Crust
- 1 cup graham cracker crumbs
- 1/4 cup sugar
- 1/2 cup unsalted butter, melted
For the Cheesecake Filling
- 16 oz cream cheese, softened
- 1 cup sugar
- 1 tsp vanilla extract
- 2 large eggs
- 1/4 cup sour cream
How-To Steps
Preheat your oven to 325°F (160°C) and line a muffin tin with heart-shaped cupcake liners.
In a mixing bowl, combine graham cracker crumbs, sugar, and melted butter until well blended. Press this mixture evenly into the bottom of each cupcake liner.
In another bowl, beat the softened cream cheese until smooth. Add sugar and vanilla, mix well, then incorporate the eggs and sour cream until combined.
Pour the cheesecake filling over the crusts in each liner, filling them about three-quarters full.
Bake in the preheated oven for 18-20 minutes. They should be slightly set but still have a jiggle in the center.
Let them cool at room temperature before refrigerating for at least 2 hours. Serve cold, topped with your favorite fruits or toppings!
Extra Tips
- For a richer flavor, try adding lemon zest to the filling or swap out vanilla for almond extract.
Nutritional Breakdown (Per Serving)
- Calories: 180 kcal
- Total Fat: 12g
- Saturated Fat: 7g
- Cholesterol: 45mg
- Sodium: 150mg
- Total Carbohydrates: 15g
- Dietary Fiber: 0g
- Sugars: 10g
- Protein: 3g