Roasted Garlic Hummus Bowls
Highlighted under: Global Flavors
I absolutely love creating delicious and healthy meals, and Roasted Garlic Hummus Bowls have become a favorite in my kitchen. The creamy hummus combined with the sweet roasted garlic creates a flavor explosion that is perfect for any occasion. It’s not only simple to make but also offers endless possibilities for customization. Whether I’m enjoying a light lunch or hosting friends, these bowls are always a hit. Plus, they're packed with nutrients, making them a great choice for a guilt-free indulgence.
When I first tried making Roasted Garlic Hummus, I was amazed at how the process transformed the garlic into a caramelized delight. Roasting not only enhances its sweetness but also mellows its sharpness, creating a creamy blend that perfectly complements the chickpeas. The result? A smooth, flavorful hummus that's irresistible!
Each time I prepare these bowls, I experiment with different toppings like fresh herbs, olives, or crunchy vegetables, which all add exciting textures and flavors. What I've learned is that the best choices are ones that balance the rich hummus, turning a simple dish into a gourmet experience that's both nutritious and satisfying.
Why You Will Love This Recipe
- Creamy hummus infused with caramelized roasted garlic for a depth of flavor
- Perfectly customizable with your favorite veggies and toppings
- Healthy and satisfying meal that keeps you full without guilt
The Art of Roasting Garlic
Roasting garlic elevates its natural sweetness and transforms its pungent flavor into a rich, caramelized experience. When preparing the garlic, ensure you cut just enough off the top to expose the cloves without losing too much of the bulb. Wrapping the garlic in foil helps trap steam, facilitating an even roast. Keep an eye on it during the last few minutes; you want the cloves to become soft and golden but not burnt. A perfectly roasted garlic should be creamy and spreadable, adding a delightful depth to your hummus.
Once roasted, allow the garlic to cool slightly before handling. To extract the cloves, simply squeeze the bulb from the bottom, and the soft cloves will pop right out. This step not only enriches the flavor of your hummus but also contributes to its silky texture. If you happen to roast more garlic than needed, it can be stored in an airtight container in the refrigerator for about a week or even frozen for later use, making it a great flavor booster for future dishes.
Creating the Right Hummus Texture
The texture of your hummus can make or break your dish. To achieve a creamy consistency, start blending your ingredients in a high-powered food processor. Chickpeas should be thoroughly rinsed to remove any canning liquid that can create a gritty texture. If you're looking for an ultra-smooth hummus, consider peeling the chickpeas before blending; this can add a few extra minutes but truly enhances the creaminess.
As you blend, gradually add water to your hummus. This is where you can control the consistency based on personal preference—more water for a lighter, fluffier hummus, or less for a denser spread. For flavor enhancements, I enjoy adding additional spices or roasted peppers during blending. Just remember to start blending on a low speed and then gradually increase to avoid splatters during the process.
Customization and Variations
Part of the joy of Roasted Garlic Hummus Bowls is their endless customization potential. You can substitute tahini with sunflower seed paste for a nut-free version or swap out olive oil for avocado oil for a different flavor profile. Additionally, incorporating spices such as smoked paprika or harissa can introduce exciting flavor layers. Don’t hesitate to experiment with different beans like black beans or white beans for a unique twist on the classic chickpea base.
When it comes to toppings, the sky’s the limit! Roasted vegetables, nuts, or seeds can add texture and flavor. If you're in the mood for something a bit more substantial, consider adding grilled chicken or falafel for a protein boost. The versatility of this dish not only makes it adaptable for different dietary needs but also allows you to showcase seasonal ingredients. Get creative based on what you have on hand and let your Roasted Garlic Hummus Bowls reflect your tastes.
Ingredients
For the Roasted Garlic Hummus
- 1 large head of garlic
- 1 can (15 oz) chickpeas, drained and rinsed
- 1/4 cup tahini paste
- 3 tablespoons olive oil
- 2 tablespoons lemon juice
- 1/2 teaspoon ground cumin
- Salt to taste
- Water as needed
For Serving
- Pita chips or fresh pita bread
- Cucumbers, diced
- Cherry tomatoes, halved
- Kalamata olives
- Fresh parsley or cilantro, chopped
Instructions
Steps
Roast the Garlic
Preheat the oven to 400°F (200°C). Cut the top off the head of garlic to expose the cloves, drizzle with olive oil, wrap in foil, and roast for 30 minutes. Once cool, squeeze the garlic into a bowl.
Make the Hummus
In a food processor, combine roasted garlic, chickpeas, tahini, olive oil, lemon juice, cumin, and salt. Blend until smooth, adding water as needed to reach desired consistency.
Assemble the Bowls
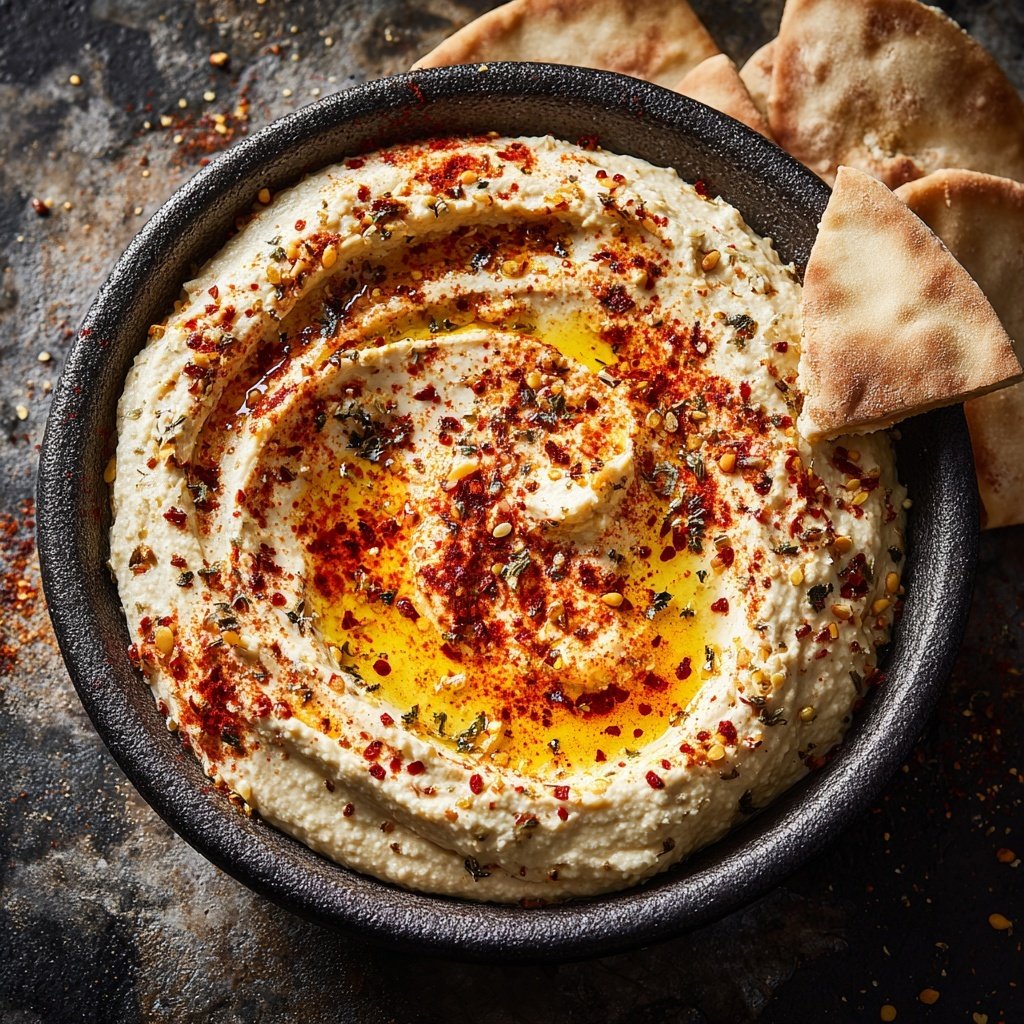
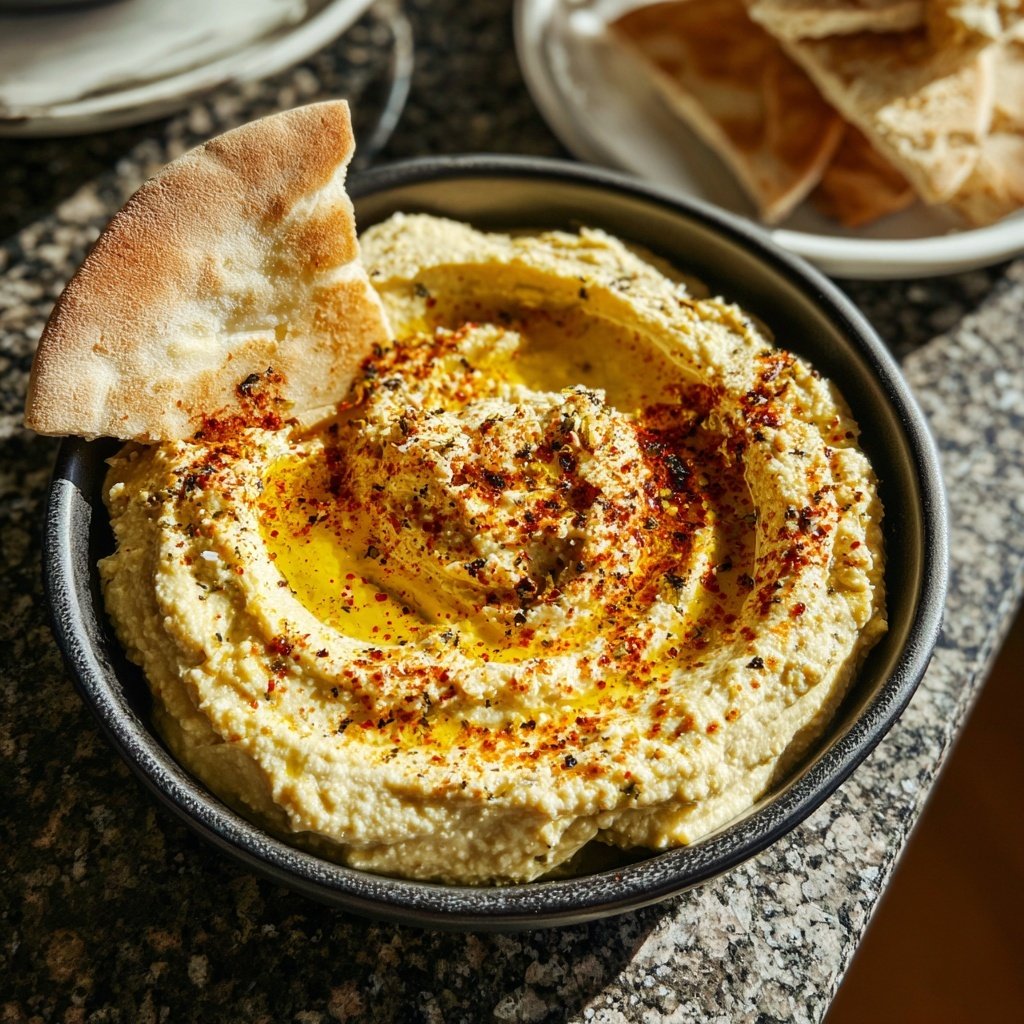
Spoon hummus into bowls, drizzle with olive oil, and top with diced cucumbers, halved tomatoes, olives, and fresh herbs. Serve with pita chips or bread.
Enjoy!
Pro Tips
- Feel free to customize the toppings to your liking for added texture and flavor. You can also store any leftover hummus in an airtight container in the refrigerator for up to a week.
Storage and Make-Ahead Tips
Roasted Garlic Hummus can be prepared in advance, making it an ideal choice for meal prep. Store the hummus in an airtight container in the refrigerator, where it will keep for up to one week. To maintain the best flavor and texture, remember to press a piece of plastic wrap directly onto the surface of the hummus before sealing the container. This minimizes air exposure, preventing it from drying out.
For longer storage, you can freeze your hummus. Portion it into freezer-safe containers or even ice cube trays for smaller servings, ensuring it’s airtight to prevent freezer burn. Thaw frozen hummus overnight in the refrigerator before serving and give it a good stir to restore its smoothness. This way, you'll always have a delicious and healthy option ready to enjoy!
Serving Suggestions
These Roasted Garlic Hummus Bowls are wonderfully versatile and can easily be adapted for various meals. For a brunch setting, serve them alongside a fresh salad, poached eggs, or avocado toast for a balanced meal. During dinner parties, these bowls can function as a stunning appetizer, complemented with a selection of homemade pita chips or fresh baguette slices for delightful dipping.
To make the meal more filling for lunch or dinner, consider mixing in warm grains like quinoa or couscous at the bottom of the bowl before adding the hummus. Topping it off with roasted seasonal vegetables can create a beautifully layered dish that’s visually appealing as well as satisfying. The combination of flavors and textures will keep your guests coming back for more.
Questions About Recipes
→ Can I use dried chickpeas instead of canned?
Yes, you can use dried chickpeas, but you'll need to soak them overnight and cook them until soft before using.
→ How do I store leftover hummus?
Store leftover hummus in an airtight container in the refrigerator for up to one week. Stir well before serving.
→ What can I replace tahini with?
You can replace tahini with sunflower seed butter or skip it entirely for a lighter version, but it may alter the flavor slightly.
→ Is this recipe suitable for vegans?
Absolutely! This recipe is entirely plant-based and vegan-friendly.
Roasted Garlic Hummus Bowls
Created by: The Novarecipelab Team
Recipe Type: Global Flavors
Skill Level: Intermediate
Final Quantity: 4 servings
What You'll Need
For the Roasted Garlic Hummus
- 1 large head of garlic
- 1 can (15 oz) chickpeas, drained and rinsed
- 1/4 cup tahini paste
- 3 tablespoons olive oil
- 2 tablespoons lemon juice
- 1/2 teaspoon ground cumin
- Salt to taste
- Water as needed
For Serving
- Pita chips or fresh pita bread
- Cucumbers, diced
- Cherry tomatoes, halved
- Kalamata olives
- Fresh parsley or cilantro, chopped
How-To Steps
Preheat the oven to 400°F (200°C). Cut the top off the head of garlic to expose the cloves, drizzle with olive oil, wrap in foil, and roast for 30 minutes. Once cool, squeeze the garlic into a bowl.
In a food processor, combine roasted garlic, chickpeas, tahini, olive oil, lemon juice, cumin, and salt. Blend until smooth, adding water as needed to reach desired consistency.
Spoon hummus into bowls, drizzle with olive oil, and top with diced cucumbers, halved tomatoes, olives, and fresh herbs. Serve with pita chips or bread.
Extra Tips
- Feel free to customize the toppings to your liking for added texture and flavor. You can also store any leftover hummus in an airtight container in the refrigerator for up to a week.
Nutritional Breakdown (Per Serving)
- Calories: 320 kcal
- Total Fat: 18g
- Saturated Fat: 3g
- Cholesterol: 0mg
- Sodium: 210mg
- Total Carbohydrates: 30g
- Dietary Fiber: 8g
- Sugars: 4g
- Protein: 10g