Frozen Yogurt Cookie Cups
Highlighted under: Baking & Desserts
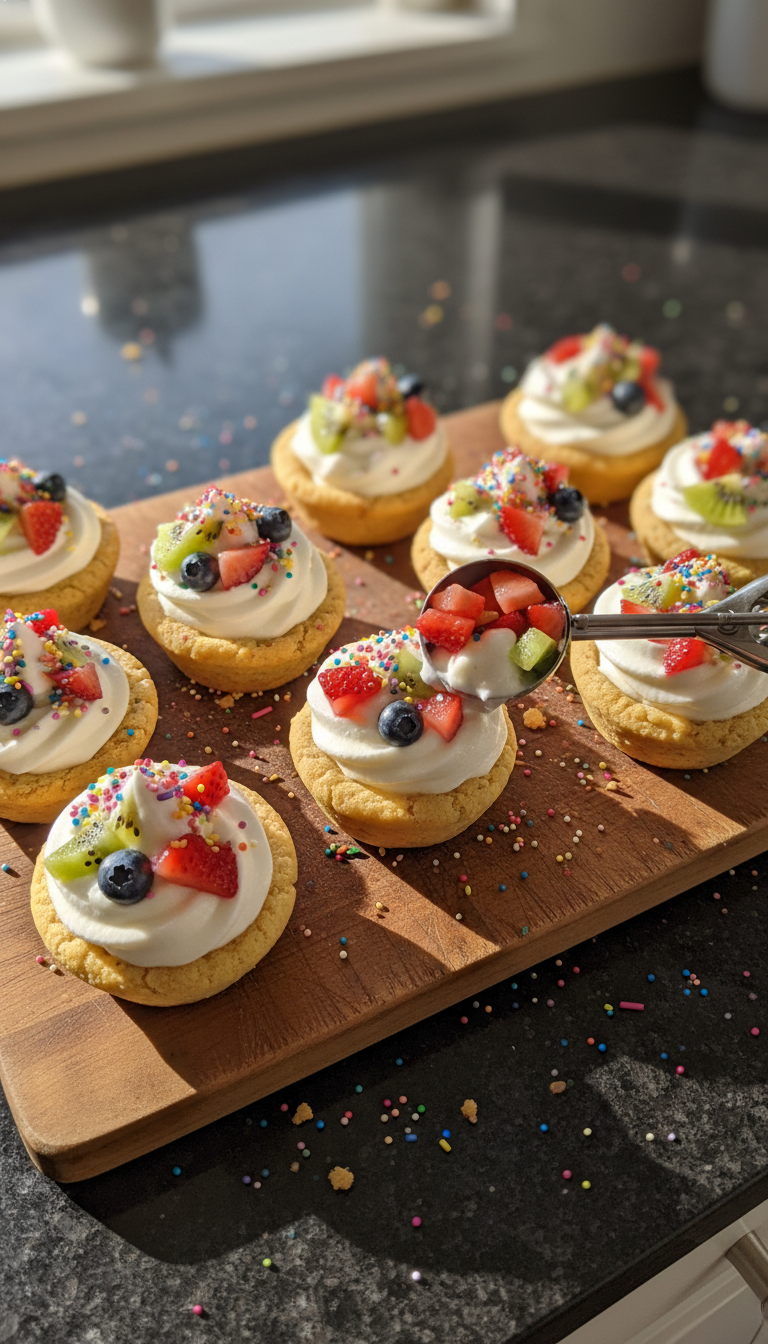
I absolutely love making Frozen Yogurt Cookie Cups during the warmer months! These delightful treats bring together the creaminess of yogurt with the satisfying crunch of cookie cups. It's a simple yet impressive dessert that I can whip up in no time, and it quickly becomes a favorite amongst my friends and family. The versatility of flavor combinations means I can experiment with different toppings and yogurts, making each batch unique. Plus, they’re a refreshing alternative to traditional ice cream, perfect for when I want something sweet but lighter.
When I first tried making Frozen Yogurt Cookie Cups, I was surprised by how easy it was to create such a delicious and visually appealing dessert. I used simple ingredients I had in my pantry, and the method allowed for plenty of creativity. One of my favorite combinations is vanilla yogurt with crushed berries and a sprinkle of granola on top, which gives a great flavor contrast and texture.
After perfecting the recipe, I realized that the choice of cookies is crucial! Using a crunchy cookie adds an excellent base that holds up well, allowing me to fill it with my favorite yogurt. I love serving these at gatherings; they never fail to impress and are completely customizable, making them perfect for any occasion!
Why You Will Love This Recipe
- Refreshing and creamy flavor combination
- Customizable with your favorite toppings
- Quick and easy to prepare for any occasion
Understanding the Cookie Cups
The cookie cups serve as the perfect vessel for your yogurt filling, bringing a delightful crunch that contrasts beautifully with the creaminess of the yogurt. When mixing the dry ingredients, ensure they are thoroughly combined to avoid any clumps of cocoa or flour. This will result in an even texture that holds its shape. I recommend using unsweetened cocoa powder for a rich chocolate flavor that won't overpower the yogurt. Keep an eye on the cookie cups while baking; they should come out firm to the touch and slightly puffed, indicating they are ready.
It's important to allow the cookie cups to cool completely in the mini muffin tin before filling them. This cooling process not only prevents the yogurt from melting but also helps them maintain their shape. If you find your cookie cups have some overflow during baking, don't worry! Once they’re cool, you can gently reshape the tops with the back of a teaspoon before filling them. This ensures you have a perfect little cup to hold all that delicious yogurt.
Creating the Yogurt Filling
The yogurt filling is where you can truly let your creativity shine. I love using full-fat Greek yogurt for its rich texture and protein content, but feel free to opt for low-fat or non-dairy yogurt if you're looking for lighter options. Sweetening the yogurt with honey or maple syrup not only adds flavor but also helps achieve a smooth consistency. Be sure to taste the filling before you fill the cups; adjust the sweetness if necessary—every yogurt brand can vary in tanginess, and personal preference plays a huge role here.
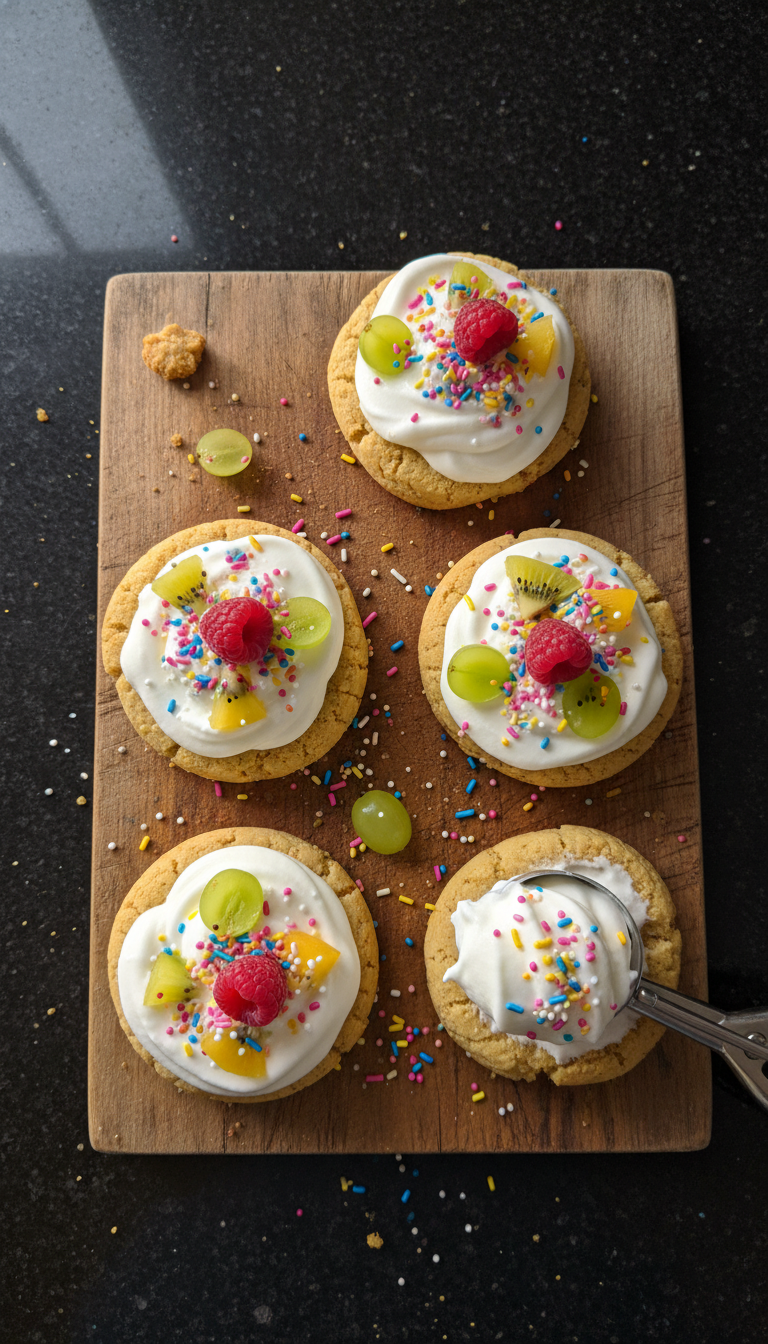
To achieve a beautiful presentation, consider layering your yogurt filling with your chosen toppings rather than just placing them on top. This will create a delightful surprise with each bite. Fresh fruits like berries, bananas, or peaches not only add vibrant color but also a burst of freshness that complements the rich cookie cups and creamy yogurt. If you’re feeling adventurous, try adding a sprinkle of nuts, granola, or even a drizzle of chocolate for added texture and flavor contrast.
Ingredients
Ingredients
For the Cookie Cups
- 1 cup all-purpose flour
- 1/2 cup unsweetened cocoa powder
- 1/2 cup sugar
- 1/3 cup butter, softened
- 1 egg
- 1/2 teaspoon vanilla extract
- 1/4 teaspoon baking soda
- 1/4 teaspoon salt
For the Yogurt Filling
- 2 cups Greek yogurt
- 1/4 cup honey or maple syrup
- 1 teaspoon vanilla extract
- Fresh fruit or toppings of choice
Feel free to get creative with the toppings to suit your taste!
Instructions
Instructions
Preheat the Oven
Preheat your oven to 350°F (175°C) and prepare a mini muffin tin by greasing it lightly.
Make the Cookie Dough
In a bowl, cream together the butter and sugar. Beat in the egg and vanilla extract. In another bowl, mix the flour, cocoa powder, baking soda, and salt. Gradually combine both mixtures until well blended.
Bake the Cookie Cups
Scoop a tablespoon of cookie dough into each muffin cup and press down to create a cup shape. Bake for about 10 minutes until firm. Allow them to cool completely in the pan.
Prepare the Yogurt Filling
In a separate bowl, combine Greek yogurt, honey (or maple syrup), and vanilla extract. Mix well until smooth.
Assemble the Cups
Once the cookie cups have cooled, fill each cup with the yogurt mixture and top with fresh fruit or your desired toppings.
Freeze and Serve
Place the filled cups in the freezer for at least 30 minutes. Serve frozen and enjoy!
Make sure to store any leftovers in the freezer for later indulgence!
Pro Tips
- Experiment with different yogurt flavors and toppings to keep things exciting! Consider using granola, nuts, or even a drizzle of chocolate on top for added texture and sweetness.
Make-Ahead and Storage Tips
These Frozen Yogurt Cookie Cups are fantastic for meal prep as they can be made ahead of time and stored in the freezer. Once filled and frozen, just pop them into an airtight container or freezer bag, separating layers with parchment paper to prevent sticking. They can be stored for up to two weeks, making them a convenient treat to grab on hot days when you're craving something cool and satisfying.
If you're planning to make a big batch for a gathering, you can double or triple the cookie dough recipe without any issues. Just remember to bake them in batches, allowing enough time for each batch to cool before assembling. They can also be customized easily to suit different tastes—consider preparing a few variations with different fruit toppings or yogurt flavors to cater to everyone’s preferences.
Common Troubleshooting Tips
If your cookie cups are too crumbly, this could be due to an excess of dry ingredients or not enough fat. Ensure you accurately measure your ingredients, especially flour and cocoa powder, as packing them down can lead to using too much. For a richer cup, you could add an extra tablespoon of butter to the dough in future batches if you encounter this issue.
Another challenge may arise with the yogurt filling if it turns out too runny—this can occur if you use a yogurt that contains a lot of excess liquid. To counter this, consider straining the yogurt with a cheesecloth or coffee filter for about 30 minutes to remove excess moisture. This way, your filling will remain thick and creamy, allowing for a perfect hold in the cookie cups!
Questions About Recipes
→ Can I make these cookie cups ahead of time?
Yes! You can bake the cookie cups a day in advance and store them in an airtight container. Fill them with yogurt right before serving.
→ What kind of yogurt can I use?
Greek yogurt is recommended for its thickness and richness, but any yogurt will work. You can use flavored options as well!
→ How long can I keep these in the freezer?
These cookie cups can be stored in the freezer for up to 1 month. Just make sure to wrap them well to prevent freezer burn.
→ Can I substitute the sugar in the cookie dough?
Yes! You can use alternatives like coconut sugar or maple sugar for a healthier option.
Frozen Yogurt Cookie Cups
Created by: The Novarecipelab Team
Recipe Type: Baking & Desserts
Skill Level: Easy
Final Quantity: 12 cups
What You'll Need
For the Cookie Cups
- 1 cup all-purpose flour
- 1/2 cup unsweetened cocoa powder
- 1/2 cup sugar
- 1/3 cup butter, softened
- 1 egg
- 1/2 teaspoon vanilla extract
- 1/4 teaspoon baking soda
- 1/4 teaspoon salt
For the Yogurt Filling
- 2 cups Greek yogurt
- 1/4 cup honey or maple syrup
- 1 teaspoon vanilla extract
- Fresh fruit or toppings of choice
How-To Steps
Preheat your oven to 350°F (175°C) and prepare a mini muffin tin by greasing it lightly.
In a bowl, cream together the butter and sugar. Beat in the egg and vanilla extract. In another bowl, mix the flour, cocoa powder, baking soda, and salt. Gradually combine both mixtures until well blended.
Scoop a tablespoon of cookie dough into each muffin cup and press down to create a cup shape. Bake for about 10 minutes until firm. Allow them to cool completely in the pan.
In a separate bowl, combine Greek yogurt, honey (or maple syrup), and vanilla extract. Mix well until smooth.
Once the cookie cups have cooled, fill each cup with the yogurt mixture and top with fresh fruit or your desired toppings.
Place the filled cups in the freezer for at least 30 minutes. Serve frozen and enjoy!
Extra Tips
- Experiment with different yogurt flavors and toppings to keep things exciting! Consider using granola, nuts, or even a drizzle of chocolate on top for added texture and sweetness.
Nutritional Breakdown (Per Serving)
- Calories: 150 kcal
- Total Fat: 5g
- Saturated Fat: 3g
- Cholesterol: 20mg
- Sodium: 50mg
- Total Carbohydrates: 22g
- Dietary Fiber: 1g
- Sugars: 10g
- Protein: 4g